DIY Photobooth and Slideshow: A Quick How-To Guide

One thing that makes our annual Viget birthday celebration so memorable is having our entire team together in one place. We always make sure to capture countless photos, but this year we added a new twist by setting up our own photobooth and projecting the images as a real-time slideshow throughout the evening.
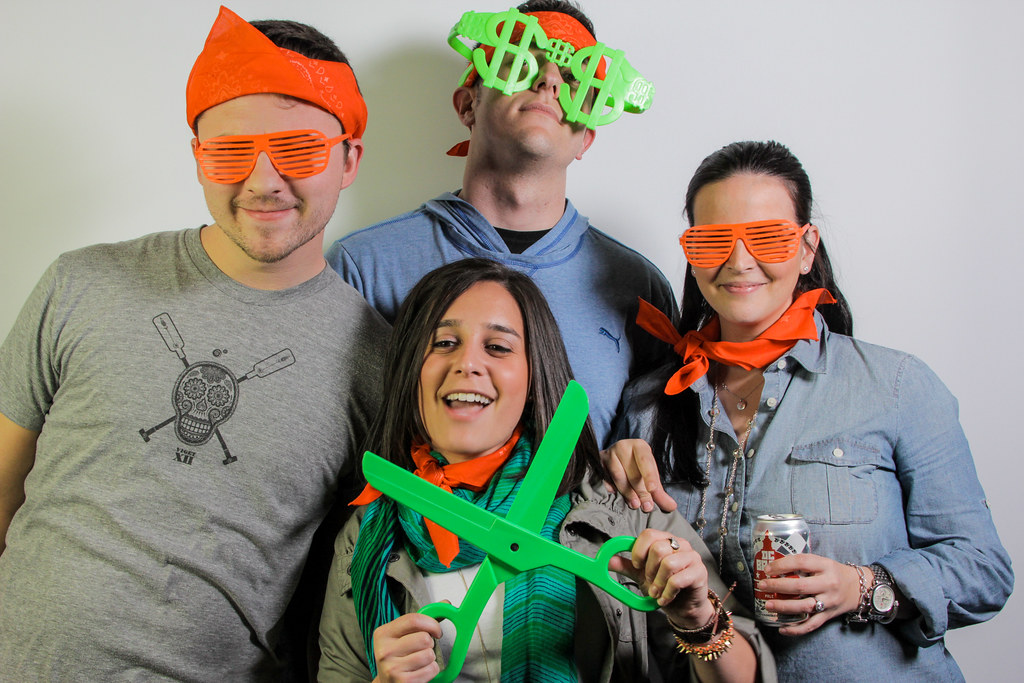
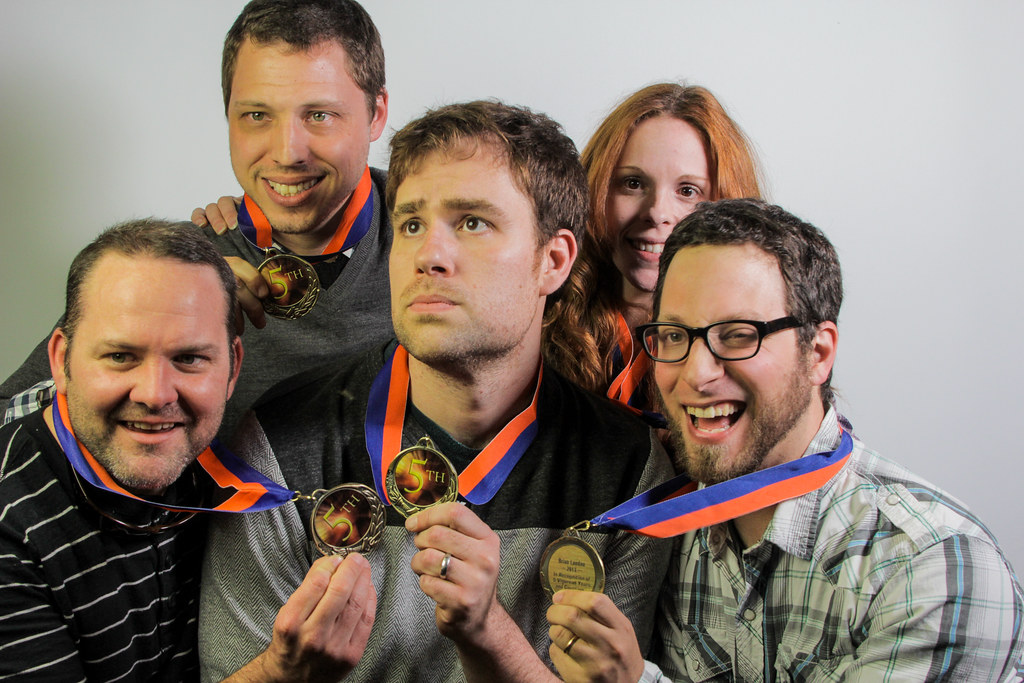
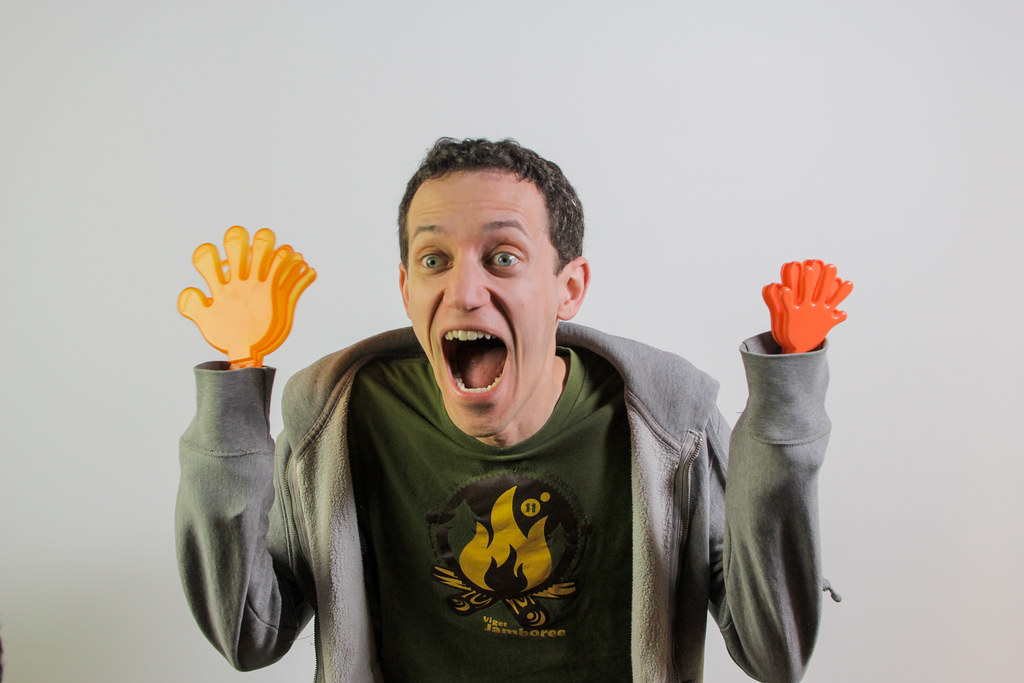
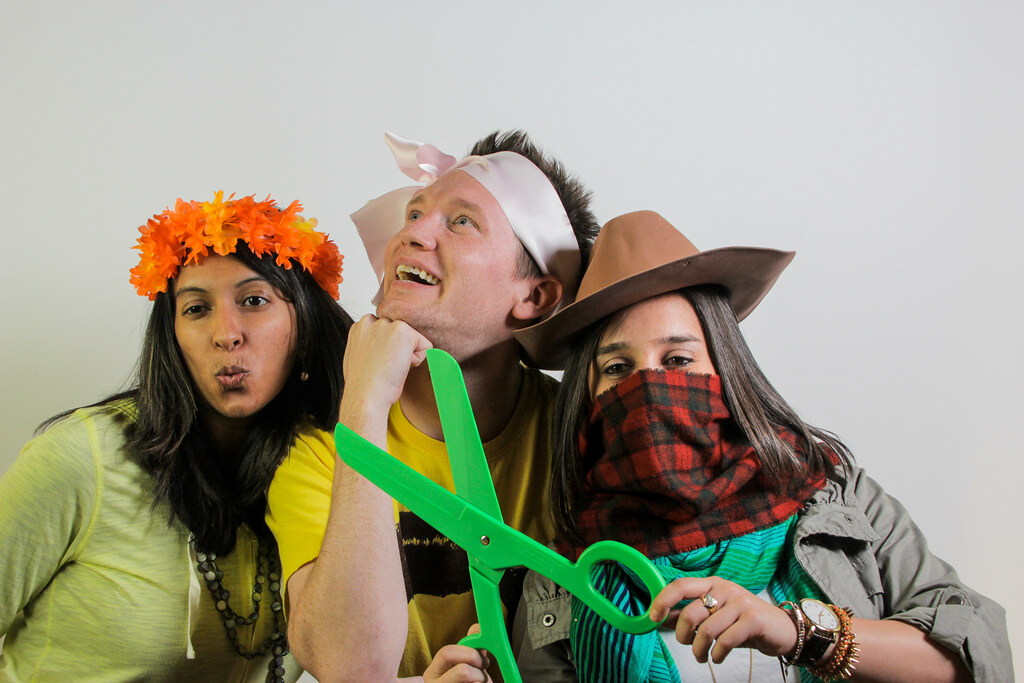
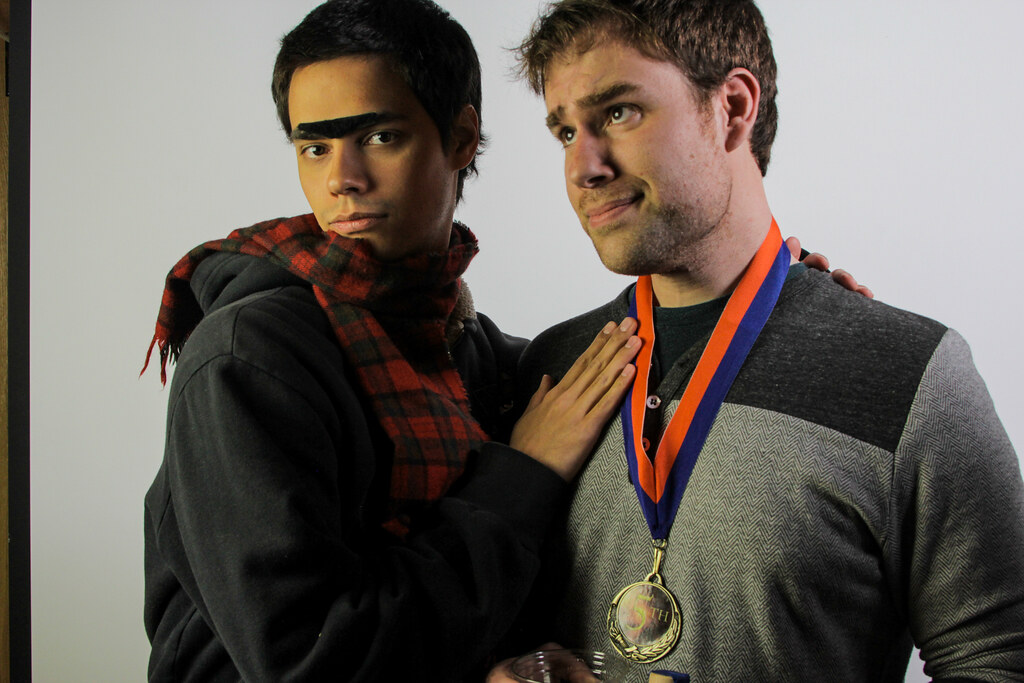
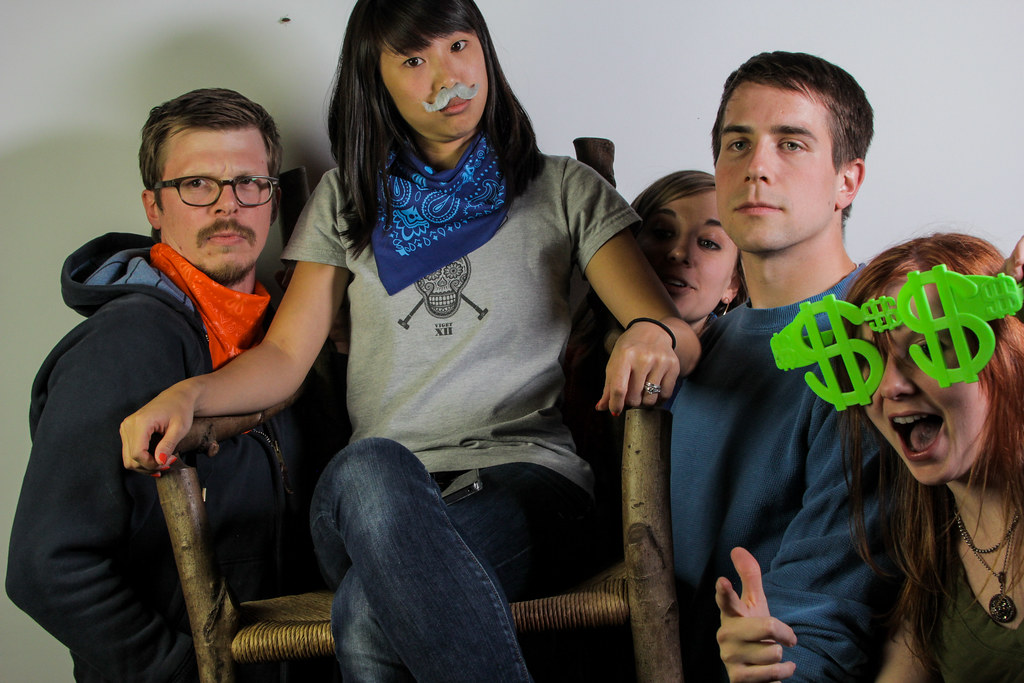
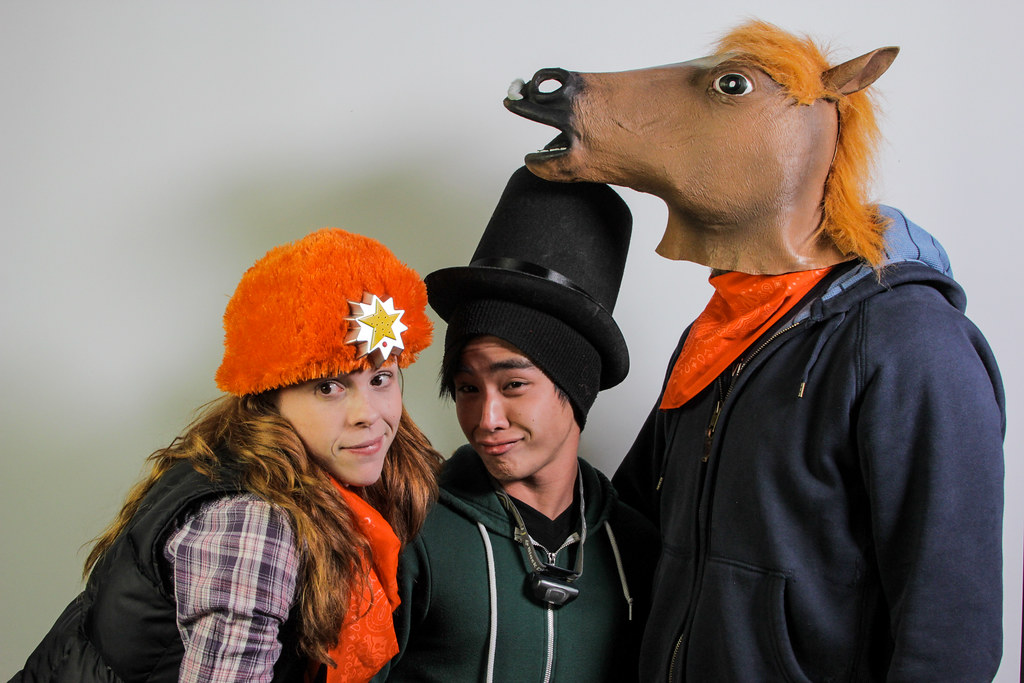
It was a total hit! The magic of the photobooth is that it appeals to hams and shyer folks alike. Since people can see and manipulate their images for themselves, they feel more in control and at ease -- whether they want to strike a pose or just smile. A few funny props and costume items encouraged everyone to get a little silly and we wound up with some truly unique shots. The booth also became an attraction in and of itself, drawing teams together for group shots -- but, more importantly, giving folks from any and all teams a chance to connect in fun, spontaneous ways.
Much of the advice available about DIY photobooths leads you down some winding paths, involving complex, hard-to-find equipment (like an old Dell screen in a box!). That’s partly because most booths also require a printer to provide people with a strip of printed photos as a souvenir. But, since printers are such a pain, we decided to keep the images digital, presenting them instead as a slideshow throughout the evening, and then sharing them on Flickr.
Eliminating the printer and keeping our equipment simple made our booth time-efficient, space-efficient, and a snap for people to use. Here’s what we used and how we did it:
Equipment
- Camera. Any DSLR camera that works with your selected photobooth application will do. We used a Canon 60D with a Canon 28-135 mm lens.
- Computer. We used a 13-inch MacBook Pro but you could use a PC.
- Cable connecting the camera to the computer. This varies depending on your camera. We used a Mini USB to USB 2.0 cable.
- Remote. This could be a wireless mouse, but we used a Kensington Wireless Presenter to make it easier for folks.
- Tripod. Any cheap, 3-legged tripod will do.
- Photobooth application. We used DSLR Remote Pro by Breeze Systems.
- Backdrop. This could be anything from a wall to a black curtain. We used a portable projector screen.
- Constant lights. This could be a CowboyStudio light pack. We went with one CowboyStudio light and a more advanced key light -- higher beam, higher power, slightly brighter environment -- using a Kino Flo Diva (we have some nicer equipment around the office due to some of the photo and film work we do for clients).
Setup
We had a few requirements for the setup: it couldn’t take up a lot of space; we’d need enough room in the field of view for a lot of people to gather; and we’d need the laptop close enough for people to see the screen easily (preview of the shot).

Here’s how we met those requirements:
- Backdrop screen flush with the back wall
- Key light pointing down at a 45 degree angle from the center of the backdrop
- Secondary light pointing across the backdrop screen to minimize shadows produced by the key light
- Camera on a tripod about 6 ft from the center
- Laptop on a music stand right next to the camera (giving the slight illusion that people are looking at the camera even when they’re looking at the preview on the laptop screen)
- Slideshow projector screen angled to cover some of the setup and make it more private, with a 10ft VGA cord running from the laptop to the projector
- Kensington remote sitting on the laptop so people know to use it
If you follow the above setup, here’s what your photobooth goers will see:

Application Settings
If you choose to use DSLR Remote Pro, here are the settings we recommend.
Go to File > Photobooth Settings and you’ll see the following screen.
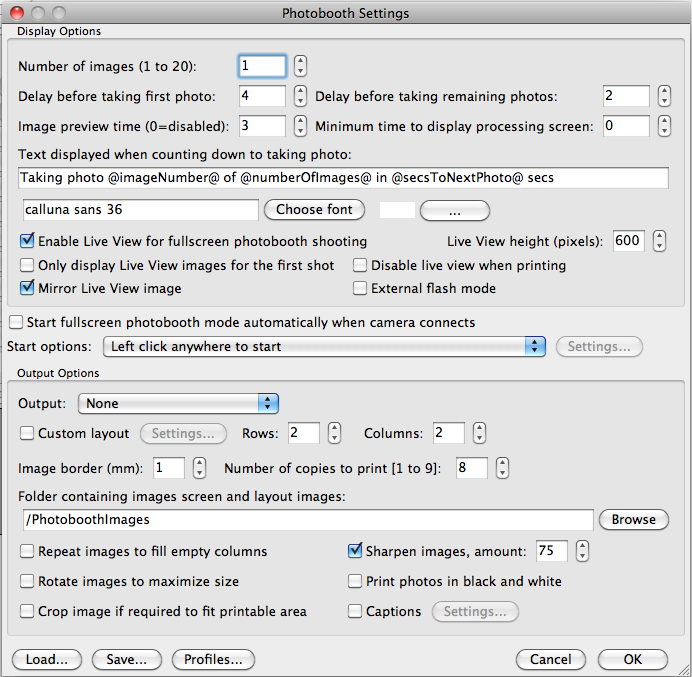
We chose to have the photobooth only take one picture per click, counting down from 4 seconds, and previewing the shot for 3 seconds. We changed Live View height to 600 pixels (if you make this too large you won’t be able to see the countdown text or the frame images you can create and add to the Photobooth directory).
One last important change we made was the Output. This only relates to printing, and if you have it turned on, it will try to send the image to a printer and create problems. If you select JPEG Copy Only, it still outputs a print file to a folder and creates a lag in the time it takes until you can click for your next image (by about 15 seconds). By selecting None, it removed the lag and the printing piece and simply saved the file to the directory specified in Preferences.
To enter the full screen photobooth mode, connect your camera, then go to File > Fullscreen Photobooth Mode or just hit Command+F4. Now test away!
Slideshow
The last piece we had to figure out was how to basically live stream the photos into a slideshow that would display on another screen. After doing some research, we couldn’t find a slideshow application that could pull in new photos added to a directory once the slideshow starts. The solution is actually surprisingly simpler than buying an application and customizing it to do the work. The solution is a rotating desktop background.
Assuming you’re on a Mac, go to System Preferences > Displays (when you’re connected to the projector) and make sure "Mirror Displays” is not selected. This will mean that your laptop or primary screen will function as the photobooth preview and your second screen will display the pictures in the slideshow.
Next, go to System Preferences > Desktop & Screen Saver and add the directory where you’ve chosen the images from DSLR Remote Pro to save to. Make sure this is set up on your projector screen, not on the primary screen.
Finally, simply select “Change Picture” and change the frequency to “Every 5 seconds”.
Now, you’ll have a nice fading slideshow of all the images taken in the photobooth, with the slideshow moving chronologically through every photo taken. The only caveat is that once it starts on the first photo, newer photos (i.e. images that photoboothers are taking as the slideshow proceeds) won’t be displayed until the slideshow circles all the way through to the beginning again. To get around this, after we had accumulated enough photos, we took a lot of the older pictures out of the main directory to make sure only new photos were being displayed.
And That's It!
Within about a half hour, we had the photobooth available for general use and, as the first photos appeared on the big screen, more and more Vigets lined up for a turn in front of the camera. It was a fun, easy way to capture some great memories (see the full set on Flickr). Give it a try at your next event.