Creating a Mac-Inspired Dev Environment on Windows with WSL, Hyper, Zsh
Eric Fuhrmann, Former Senior UI Developer
Article Categories:
Posted on
Are you a PC user who desires a more aesthetically pleasing, immersive work environment that transcends operating system? This is a step-by-step guide to creating a Mac-inspired development environment on Windows using WSL, Hyper, and Zsh.
As a developer who prefers using a PC while at home and a Mac while on the go, my continuous goal is to enhance productivity and establish a smooth transition between these two operating systems. While this endeavor hasn't always been effortless, the impressive strides made by the Windows Subsystem for Linux (WSL) have made this task more attainable than ever. WSL empowers Windows developers to tap into the capabilities of Linux and utilize robust tools like Z shell (Zsh), which is the default shell for macOS. This not only facilitates the creation of aesthetically pleasing terminals and immersive work environments, but bridges the gap between operating systems, delivering a familiar experience to users of both Windows and macOS.
In this guide, I will take you through each step of the process of setting up a development environment — similar to what you'd find on macOS — that is both aesthetically pleasing and highly functional. Let's get started!
WSL and Hyper Set-up #
1. Install WSL #
- Open PowerShell (Admin) and run the following command:
wsl --install - Follow the in-terminal instructions, which may suggest restarting your computer.
2. Install a Linux distro from WSL2 #
- Open the Microsoft Store from the Start menu and search for linux.
- Select a distro, such as Ubuntu 22.04.2 LTS and install it.
3. Initialize Ubuntu #
- Open up the newly installed Ubuntu 22.04.2 LTS application. Upon opening it for the first time, you'll be prompted with a message about its installation and asked to enter a new UNIX username and password.
Installing, this may take a few minutes...
Please create a default UNIX user account. The username does not need to match your Windows username.
For more information visit: https://aka.ms/wslusers
Enter new UNIX username:
4. Install Chocolatey #
Chocolatey, like Homebrew on macOS, serves as a package manager specifically designed for Windows operating systems. Shortly, we will utilize Chocolatey to install Hyper terminal and VS Code, highlighting its versatility as a tool for installing various applications directly from the terminal; but first, we need to actually install the package manager.
- Go back to PowerShell (Admin) and type in
Get-ExecutionPolicy. - If it returns
Restricted, runSet-ExecutionPolicy AllSigned. Otherwise, continue to the next step. - Run the following command:
Set-ExecutionPolicy Bypass -Scope Process -Force; [System.Net.ServicePointManager]::SecurityProtocol = [System.Net.ServicePointManager]::SecurityProtocol -bor 3072; iex ((New-Object System.Net.WebClient).DownloadString('https://community.chocolatey.org/install.ps1')) - After completing the set-up, you should have Chocolatey ready for use. You can verify its successful installation by typing either
chocoorchoco -?into the command prompt and ensuring that it returns a response.
5. Install Hyper Terminal and VS Code (if not currently installed) #
- While still in PowerShell (Admin), type the following command:
choco install hyper vscode -y
6. Set up VS Code to use WSL #
For more information, view the documentation here.
- Add the following extensions to VS Code:
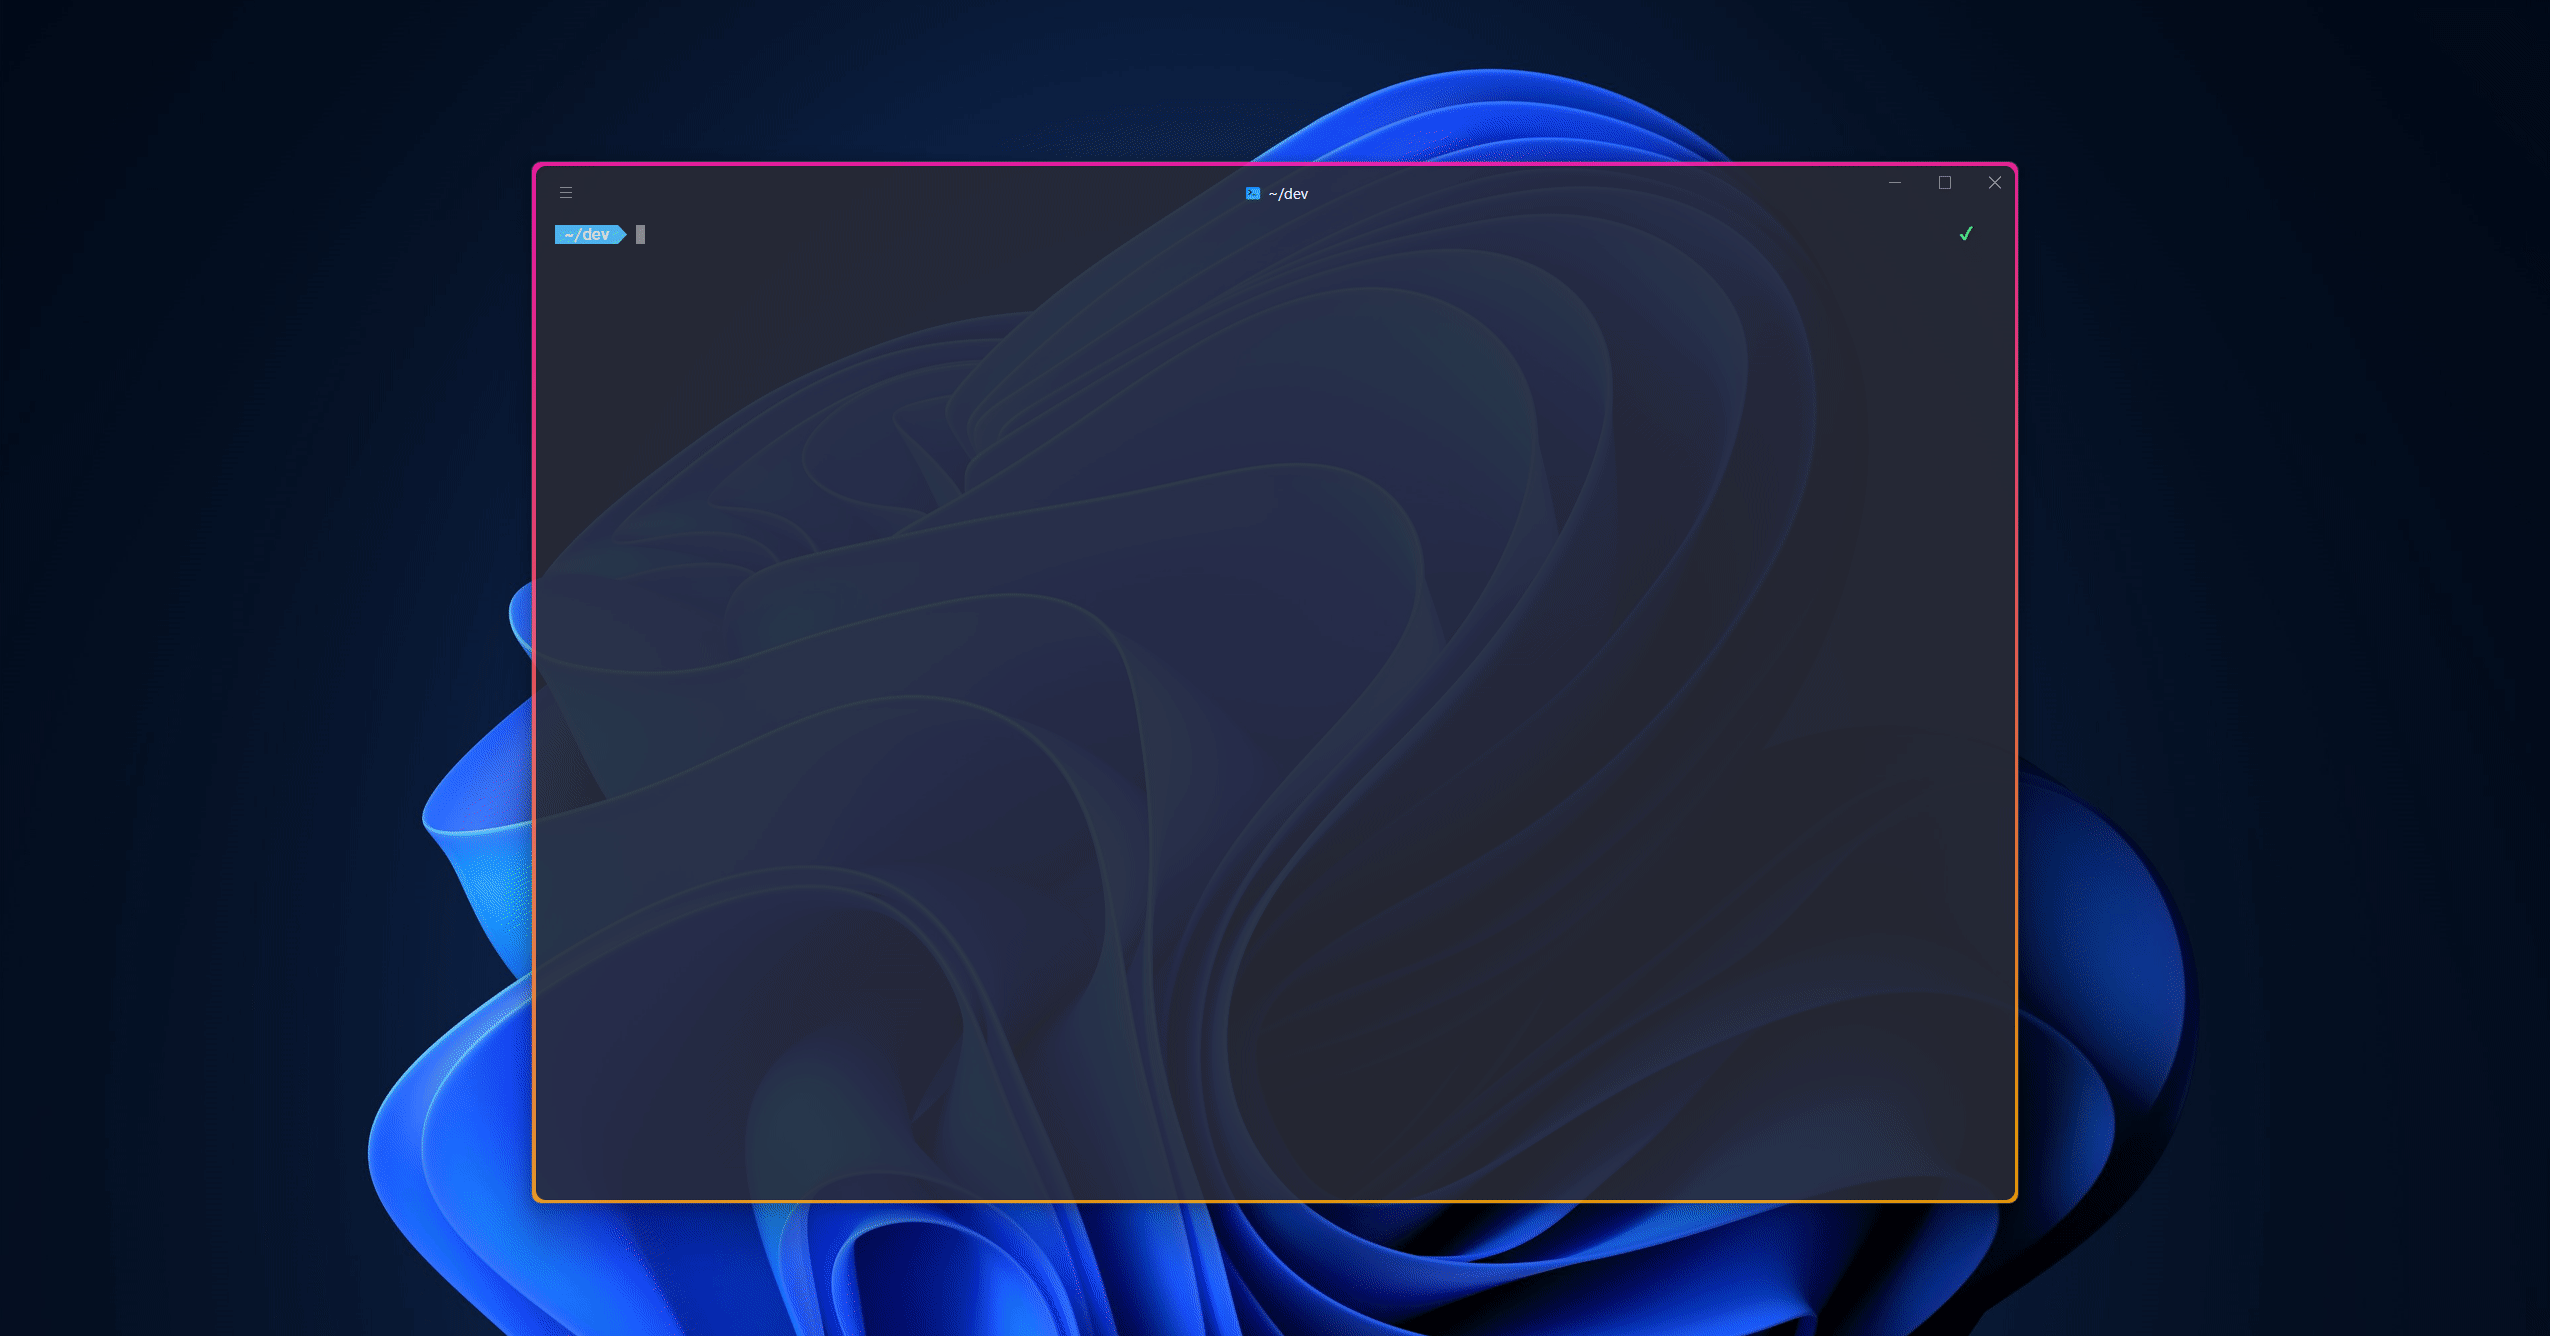
7. Set up Hyper to use WSL #
- Set Hyper to run as administrator by default.
- Right click the Hyper App Icon.
- Properties > Compatibility Tab > Check "Run this program as an administrator".
- Open Hyper.
- Expand the menu in the top left and select Edit > Preferences, or use the shortcut
ctrl + ,. - Change the following:
shell: 'C:\\WINDOWS\\System32\\wsl.exe' shellArgs: ['~'] - Save and restart Hyper.
8. Install Zsh and Oh-My-Zsh #
- Copy and paste the following:
# Update Ubuntu
sudo apt update && sudo apt upgrade -y

# Install Zsh
sudo apt install zsh -y

# Install oh-my-zsh
sh -c "$(curl -fsSL https://raw.githubusercontent.com/ohmyzsh/ohmyzsh/master/tools/install.sh)"
9. Install NVM and Node #
For more information, view the documentation here.
Install NVM.
curl -o- https://raw.githubusercontent.com/nvm-sh/nvm/v0.39.3/install.sh | bashRestart Zsh by typing
exec zsh.Check that NVM has installed.
 nvm -v

 # Console should return the version 0.39.3
Install Node.
nvm install node
10. Install Yarn #
For more information, view the documentation here, then expand Alternatives and select Debian / Ubuntu from the dropdown.
# configure repo
curl -sS https://dl.yarnpkg.com/debian/pubkey.gpg | sudo apt-key add -
echo "deb https://dl.yarnpkg.com/debian/ stable main" | sudo tee /etc/apt/sources.list.d/yarn.list

# update ubuntu and install yarn
sudo apt update && sudo apt install yarn
11. (Optional) Install Powerlevel 10k theme for Zsh #
The following step is entirely for aesthetics. Read more about it in the documentation here.
- Install the recommended font.
Clone the theme repo.
git clone --depth=1 https://github.com/romkatv/powerlevel10k.git ${ZSH_CUSTOM:-$HOME/.oh-my-zsh/custom}/themes/powerlevel10kSet
ZSH_THEME="powerlevel10k/powerlevel10k"in~/.zshrc.- This file will be present inside of your Linux environment.
- Restart Zsh with
exec zsh. - Type
p10k configureif the configuration wizard doesn't start automatically.
12. (Optional) Further customize Hyper and install plugins #
This step adds some additional stylization and plugins to elevate the experience a bit further.
Open PowerShell and run the following commands:
 # Adds custom color theming
 hyper i hyper-snazzy

 # Adds transparency to the background
 hyper i hyper-opacity

 # Adds colorful border to frame
 hyper i hyperborder

 # Adds custom icons in the header based on
 # current running process in Hyper terminal
 hyper i hyper-tab-icons-plus

 # Adds fading scrollbar
 hyper i hyper-fading-scrollbar
Install some specific plugins (other plugins will automatically install):
 # zsh-completions
 git clone https://github.com/zsh-users/zsh-completions ${ZSH_CUSTOM:=~/.oh-my-zsh/custom}/plugins/zsh-completions

 # zsh-autosuggestions
 git clone https://github.com/zsh-users/zsh-autosuggestions ${ZSH_CUSTOM:-~/.oh-my-zsh/custom}/plugins/zsh-autosuggestions
Add plugins in
~/.zshrc(see comprehensive list here):plugins=(git vscode yarn zsh-autosuggestions zsh-completions)Restart Zsh with
exec zshfor changes to be reflected.
Setting up VS Code for Linux development #
Now that we have our terminal set up, we can begin to set up the environment for development. For best performance results, it is recommended that all development takes place within the Linux environment. To that end, the first thing we’ll want to do is create a directory in our root specifically for development.
1. Create development directory in Linux #
- In Hyper, navigate to the root Linux directory by typing in
~. Create a new directory for development and open it:
 # create a directory
 mkdir dev

 # navigate into your new directory
 dev
2. Download a project to your directory #
git clone https://github.com/<name>/<repo>.git
3. Open project in VS Code #
Enter your project directory and open VS Code:
 # open your project directory
 <repo>

 # run directory in vsCode
 code .
If all goes well, you should see a WSL: Ubuntu-22.04 (or whatever Linux you're running) in the VS Code frame title.
And there you have it – welcome to the world of streamlined development! With the inclusion of Zsh and Linux on Windows, you'll find a noticeable improvement in performance and overall coding experience. This integration fills a gap that native Windows environments often struggle with. It's a step forward that alleviates many common limitations – but even more so, it brings a closer alignment between developing on Mac and Windows.