Detecting Motion with PIR Sensors

Eli Fatsi, Former Development Director
Article Categories:
Posted on
The process we took to vet, experiment with, and harness the power of industrial PIR Sensors
Recently we needed to determine whether or not movement was occurring in the nearby vicinity of a device. The application was to be used for an interactive art installation (which you can read more about at viget.com/lightwalk), where motion would trigger the activation of lights. We considered a wide array of components to do the job, but ultimately landed on using Passive Infrared Sensors (PIR for short). Here, I'll explain the process by which we got our PIR sensors to report momentary and sustained movement.
The Task #
What is it that we wanted exactly? Detect when motion occurs in front of the sensor (between 1 and 10 feet), and continue to detect the motion for as long as it occurs. This covers the two main use cases we were designing for - casually walking by the sensor, and dancing like a maniac (a maaaaniac) in front of the sensor.
The Existing Tech #
This is, not surprisingly, a problem that's been solved time and time again. So much so that there are really great proto-boards available to dip your toes into PIR with (ie: SparkFun OpenPIR). PIR sensors are commonly used to power deck and garage lighting that needs to activate whenever motion occurs in some specific area, and they work in pretty much all environmental circumstances (night, day, cloudy, sunny, etc.) Side note: the science behind how PIR sensors work is roughly a cross between infrared waves and the eye of a bug, here's a pre-assembled Wikipedia rabbit hole for you: PIR -> Fresnal Lense -> Anthropod Eye.
Unfortunately for us, we couldn't use an off-the-shelf solution for a number of reasons, mainly that they had to live outside, be tiny, and mount to the side of a 1-inch tube. We ultimately sprung for a batch of industrial PIR sensors, those that are built small and capable of handling all sorts of weather, and then set about determining which one detected motion in the desired focal area.
The Experimentation #
We rigged up six different sensors to a pole, and logged the readings each sensor spat out while a coworker made crazy dance motions along a grid (video proof). We then plotted the readings on a spreadsheet and color coded the results to determine where each sensor's sweet spot of motion detection was:

It's not every day that you get to do Actual Science as a software developer! The dark purple blocks represents a "strong" reading, and the graphs here show the results from the three most promising sensors. We ended up going with sensor #1 as it offered the best detection for "right in front of the thing". All this goes to show that every type of sensor behaves differently depending on what kind of lens is fixed to it, and you should pick the one that best suits your needs. (for those curious, we ended up with this one)
The Fine Tuning #
Now came the fun part (for me at least) - the coding! PIR sensors output their perception of the world by way of an analog value, a number between 0 and 4096 that describes ... something. That something isn't as straightforward as "a high number means motion is happening" unfortunately. In fact, when something moves drastically in front of a PIR sensor, that analog value moves high and low rather slowly. The graphs above were filled with the lowest value recorded in a set time period, a rudimentary method for detecting motion.
Let's take a look at some graphs visualizing the raw output of a few different scenarios (each graph represents ~7 seconds of time):
Flatline - no motion detected
 At rest the sensor outputs a value around 3100.
Quick Motion - wave hand in front of sensor
 Motion causes the value to spike low and high at mostly unpredictable rates, and over the course of multiple seconds (milliseconds would have been nice, but this is certainly workable)
Sustained Motion - dance in front of sensor
 Sustained motion triggers similar spikes, but with varying amplitudes as time passes
It's easy enough to detect single motion events. When the amplitude of the graph hits a certain threshold in a given timeframe, you have motion. Sustained motion sensing behaves a bit differently however. The amplitude of the wave has it's extremes, but will spend multiple seconds outputting more mild oscillations. Thus, the overall tactic becomes:
- Determine initial motion based on the detection of a large oscillation.
- Determine sustained motion based on the continued detection of a smaller oscillations.
Let's take a look at one more graph to bring this home. The jagged red line here is the difference between local maximums and minimums recorded at 250ms intervals, and the orange line is the final boolean value answering the question "is something moving in front of the sensor" (25 seconds in total covered here):
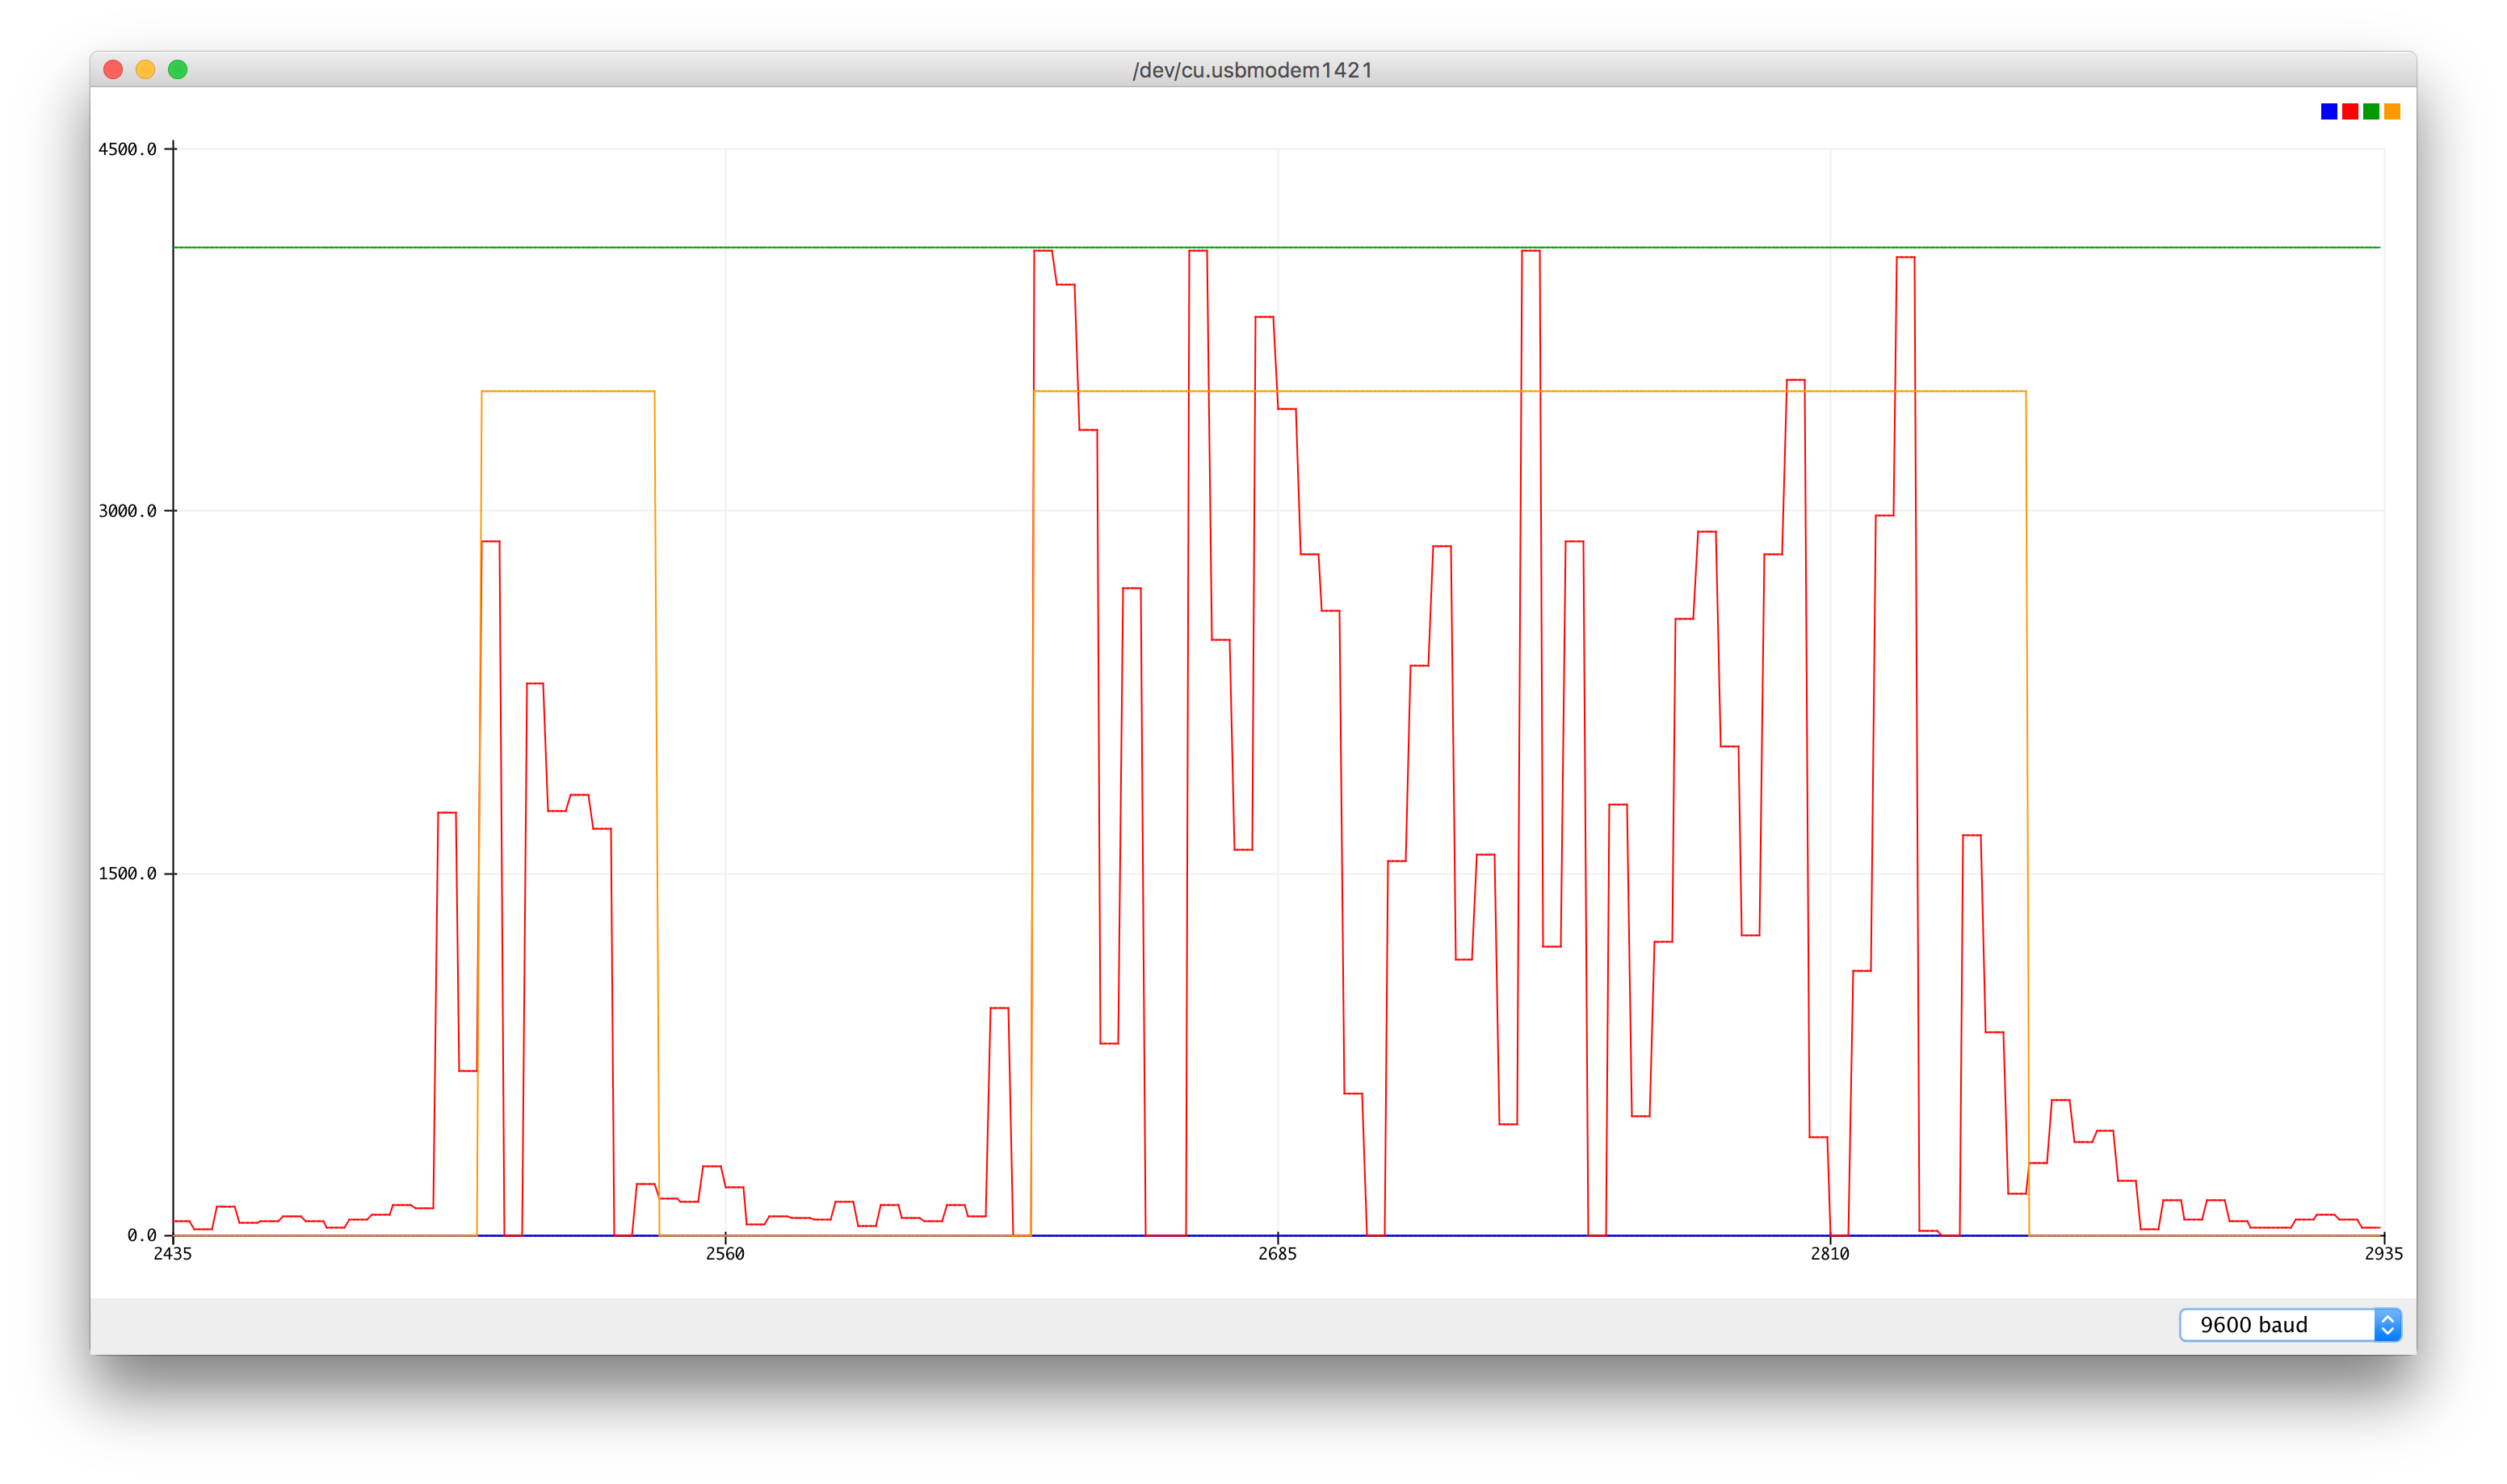
There's a single motion near the beginning, and sustained motion for the latter half. Even though there are multiple instances where there is very little activity recorded during the sustained motion, our threshold is set loosely enough that continued motion is still detected until it concretely comes to a stop.
The Code #
I'll spare you the minute details, if you're interested in taking a look at the actual code, this gist has everything you need.
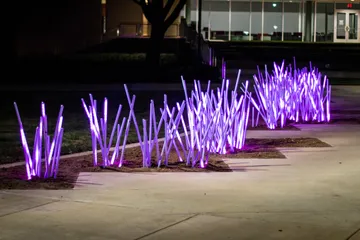
In closing, check out these pictures of our little sensors in the wild: