Getting Rid of Jaggies on Your Photo Borders
Mindy Wagner, Former Design Director
Article Category:
Posted on
During a recent moodboard review, the design team got to wondering what the best solution was for getting rid of Photoshop "jaggies," those jagged edges that show up on your nice clean shapes; especially when you start rotating them. I had a few ideas but decided to do some tests to see what REALLY works best. I started my testing with a common design element that falls prey to jaggies: a photo with a white border, slightly rotated. The photo I'm working with happens to be of my ultra adorable dog Bruiser. First, I created two versions -- one photo with an 8-pixel white inside stroke (Layer Style > Stroke) and one photo with a white square shape layer behind it. Then I rotated both sets 8 degrees clockwise. 
As you can see, the shape layer gives you a cleaner edge but the jagged edges are still pretty noticeable. If you rasterize the shape layer BEFORE rotating, results improve. 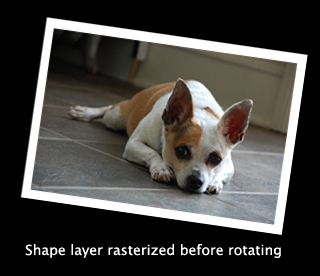 Still not great though. I'm looking for the ultimate solution, so let's keep going with a few more tricks. First, if you scale the photo down by a nice number (like 75% or 50%), the resampling seems to clean up the edges. This mean's you'd have to think ahead too much though ... not ideal. So how about a mask?
 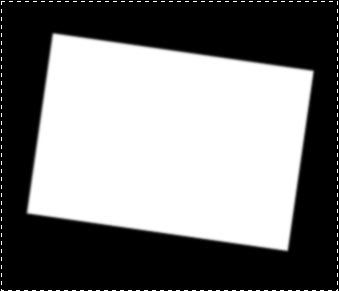 If you select your layer (Ctrl/Cmd-D) and add an alpha mask, then add about a 1.5 pixel Guassian blur (Filter > Blur > Gaussian) to that mask layer, you get a softer edge.
 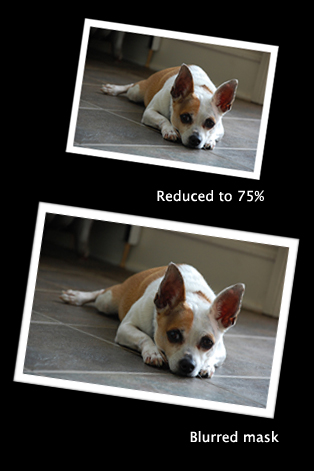 If you want sharp corners, the mask technique is the best one I found. If you want absolutely no jaggies and don't mind a little rounded corner, here's one last trick: Select the photo layer shape (Ctrl/Cmd-D again) and hit Select > Refine Edge. Contract your edge by 2 pixels and feather the edge by 1 pixel. Invert your selection (Command-Shift-I) and delete that outside edge. You end up with a blurred edge. Copy your layer about 5-6 times, then flatten them all together, and voila! The cleanest edges in town.
 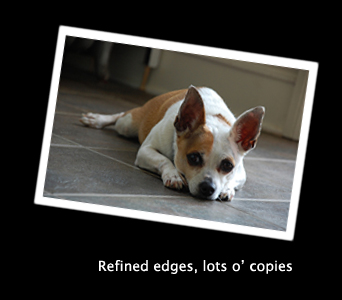 What's your solution for beating the jaggies?